Vintage Wire Wreath DIY
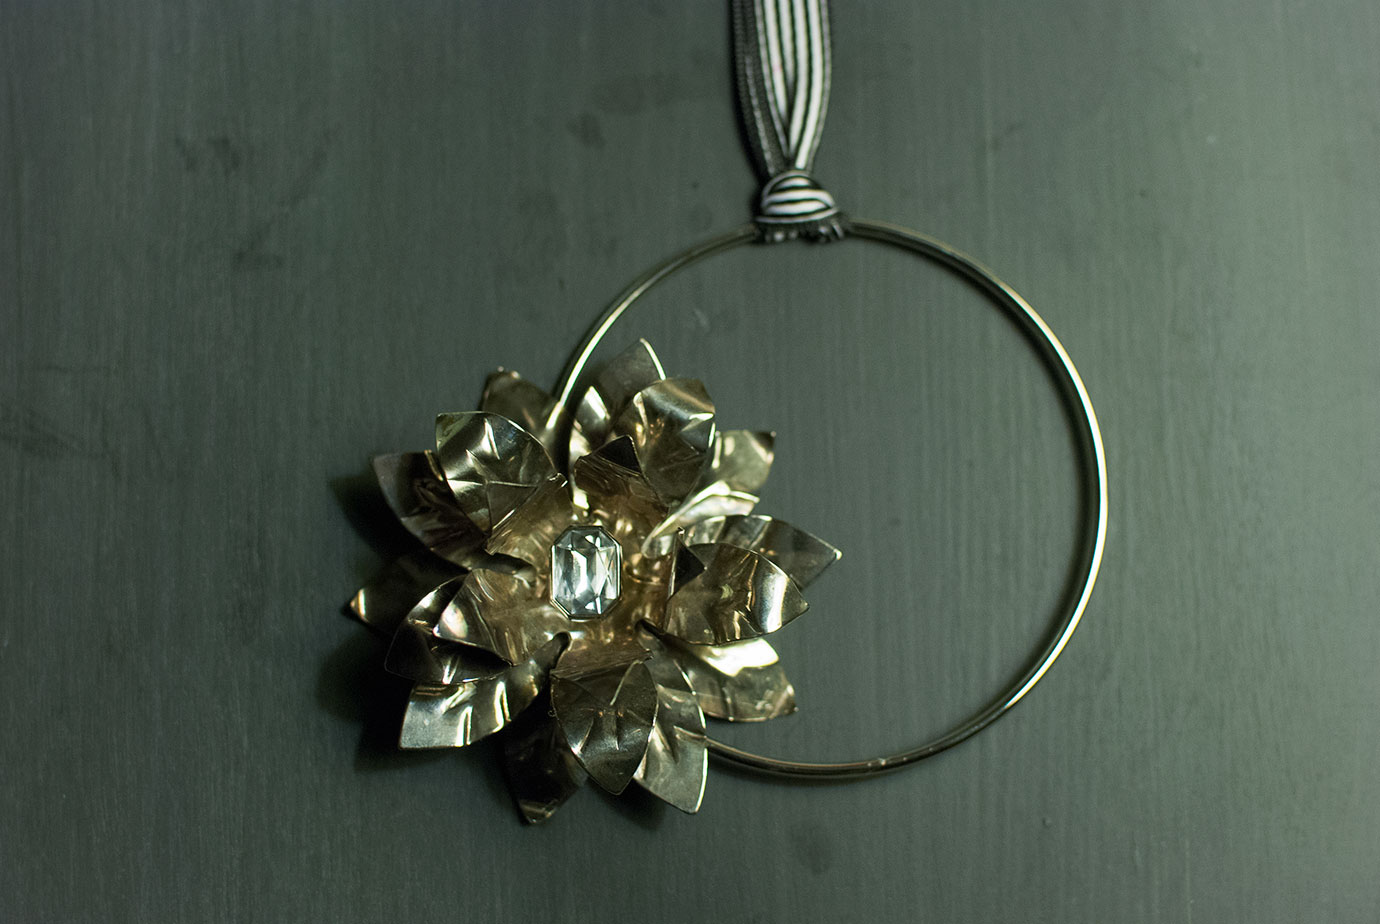
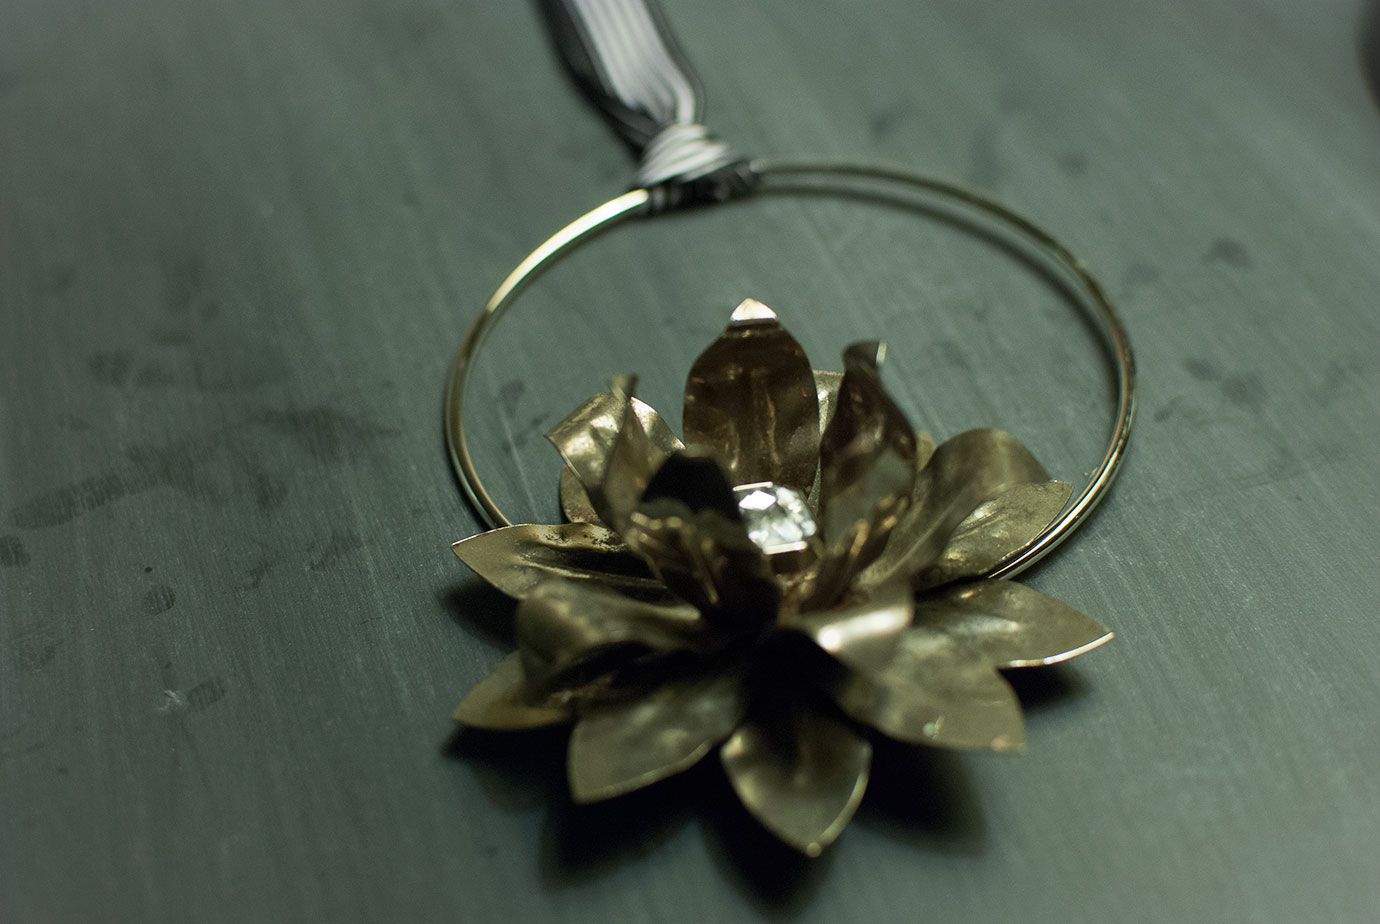
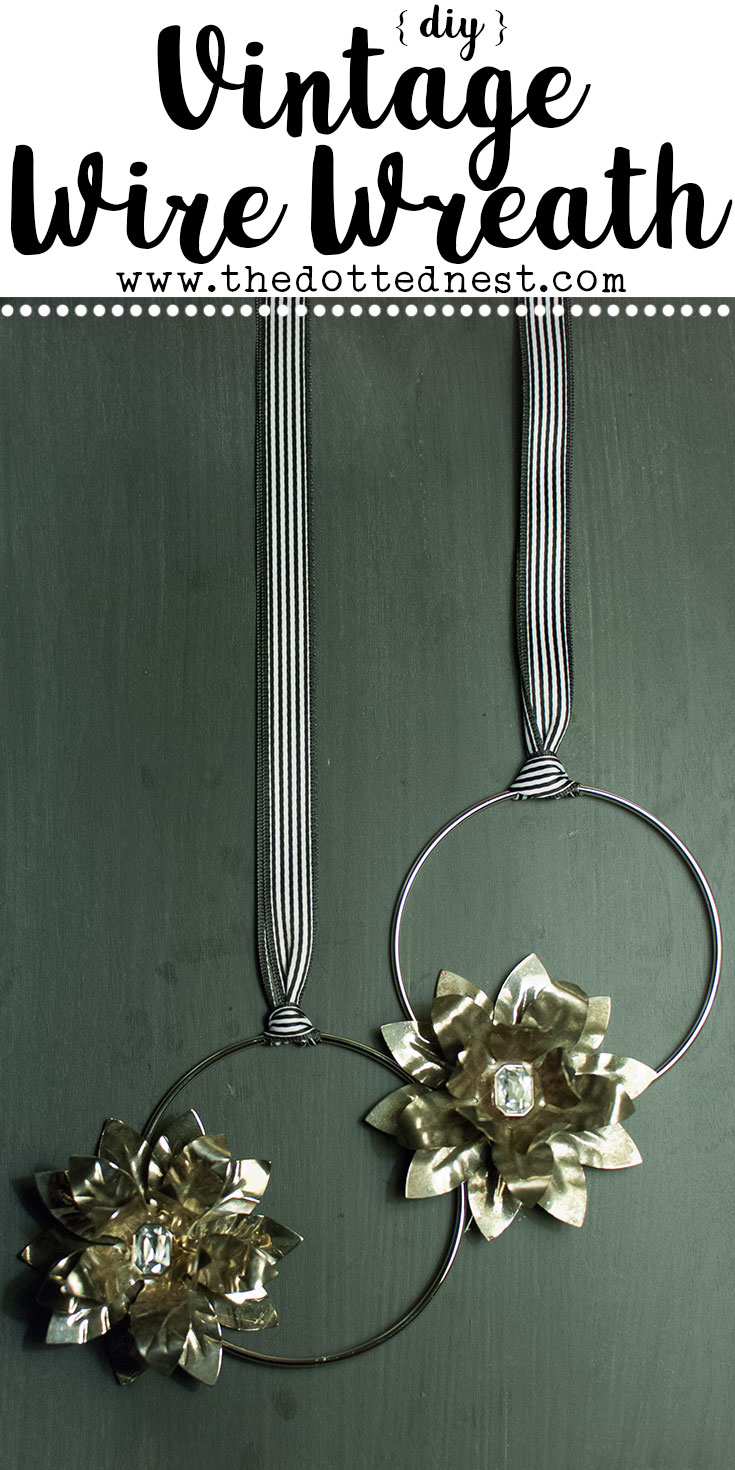
I love that these vintage wire wreaths are timeless and will work with any of the four seasons for seasonal decor. Don't you just love the sparkle? Pretty, elegant and will carry me through to Spring. I found these items in my stash, which was a relief because the paper flowers I was trying (key word there - trying! haha!) to make wouldn't have turned out as nice.
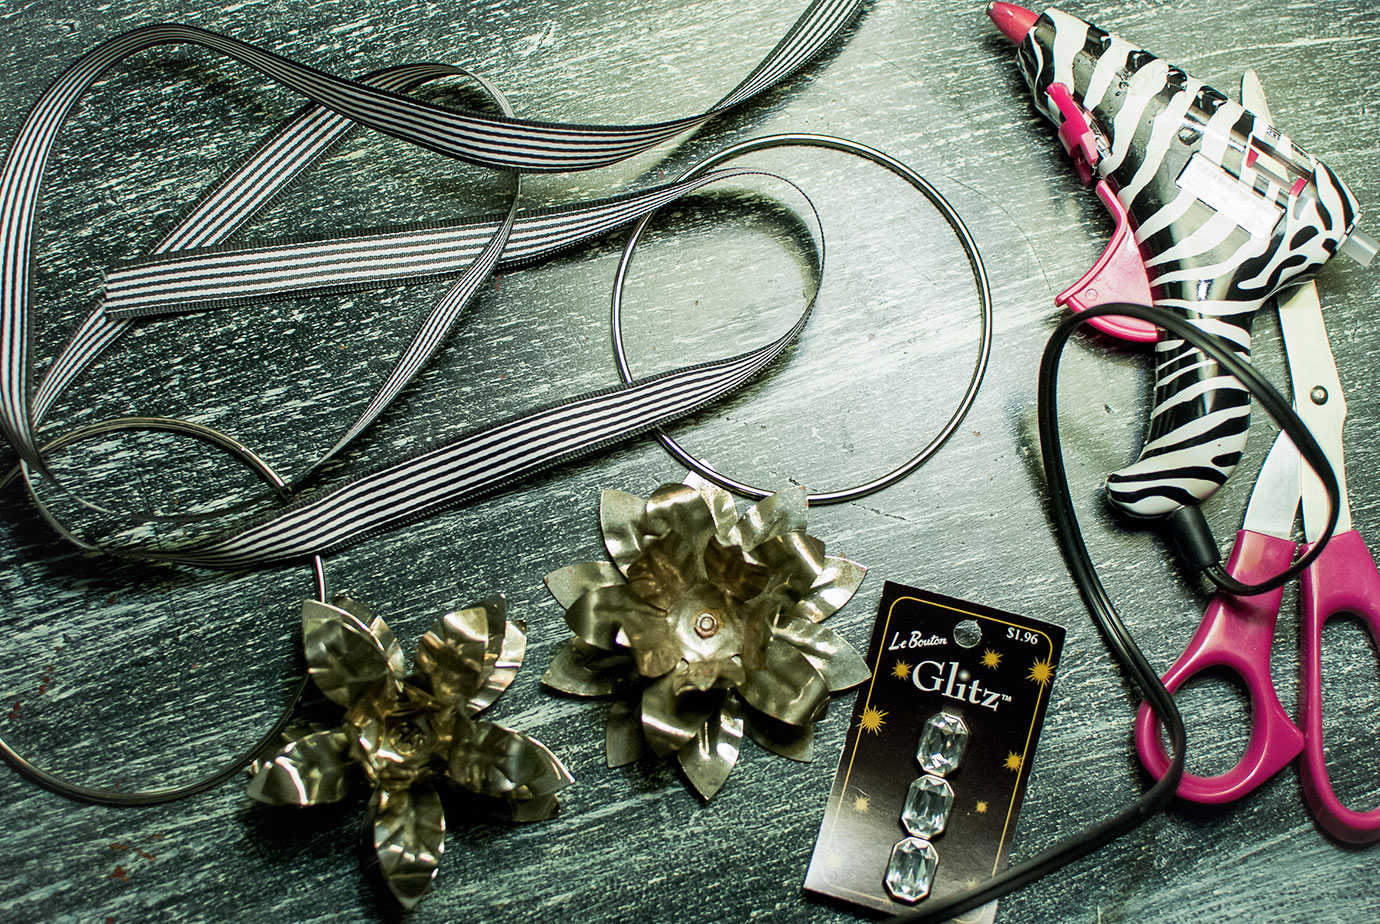
Gather your supplies...you will need:
[Disclosure: This blog post contains affiliate links for your convenience. Please see here for more info on affiliate links.]
- Wire Rings
- Vintage Metal Flowers* (or fabric/paper/silk flowers or these as an alternative)
- Ribbon
- Rhinestone Buttons/Embellishments
- Hot Glue**
* I found my vintage metal flower candle holders at a thrift store. I'm sure Etsy or Ebay will have similar metal flowers if you can't find them at your thrift store or an estate sale.
** I used hot glue because I want to be able to remove the flowers in the future if I decide to ever use them as candle holders! Highly unlikely, but I like options. Since the flowers and ring are metal, hot glue won't be a permanent solution (which is a plus for me!), so if you want your wreath to last longer you might want to use E6000 or Gorilla Glue or something like that.
Directions:
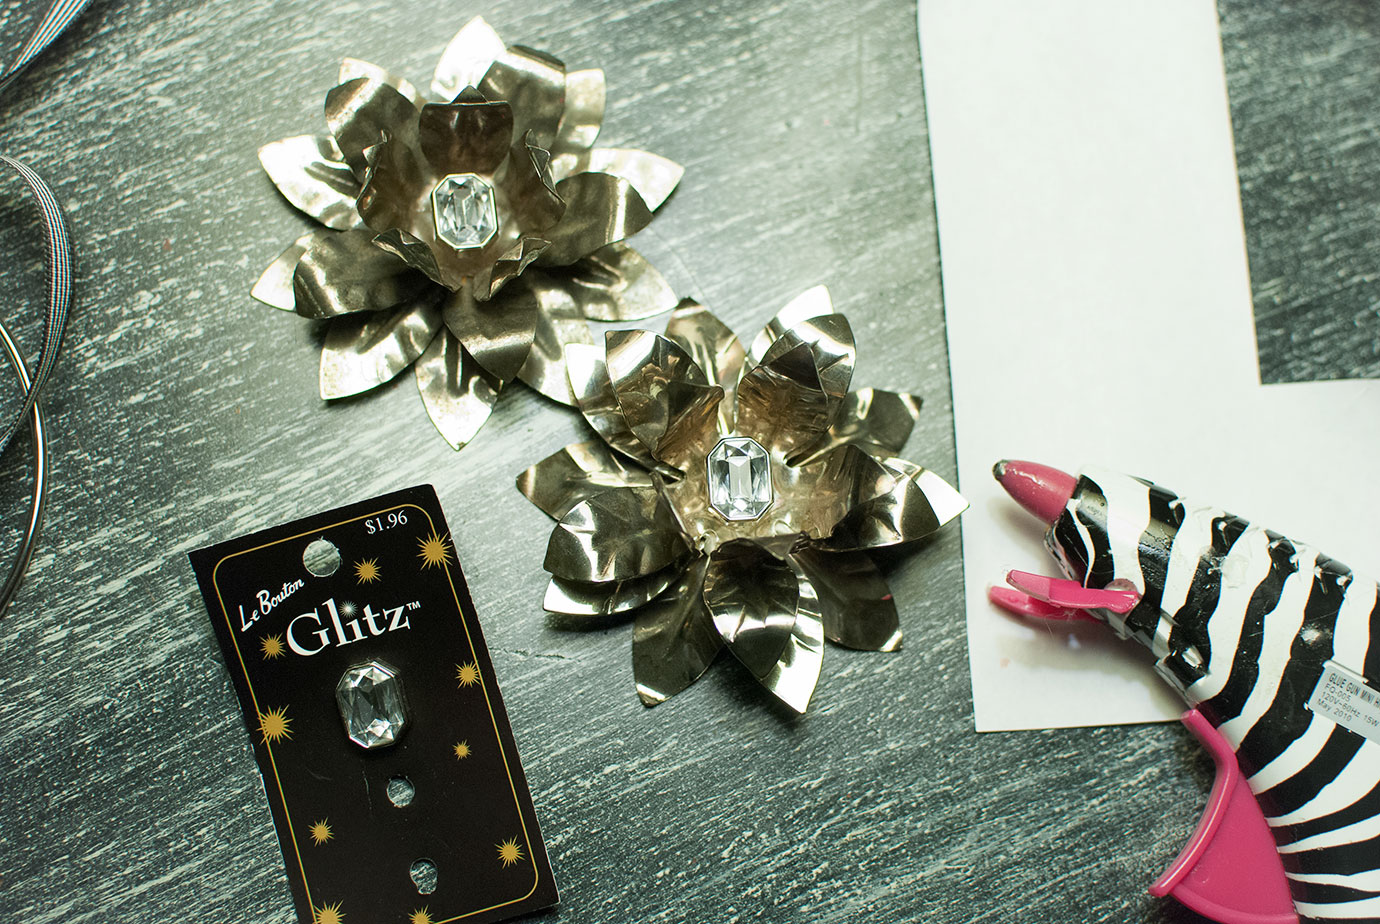
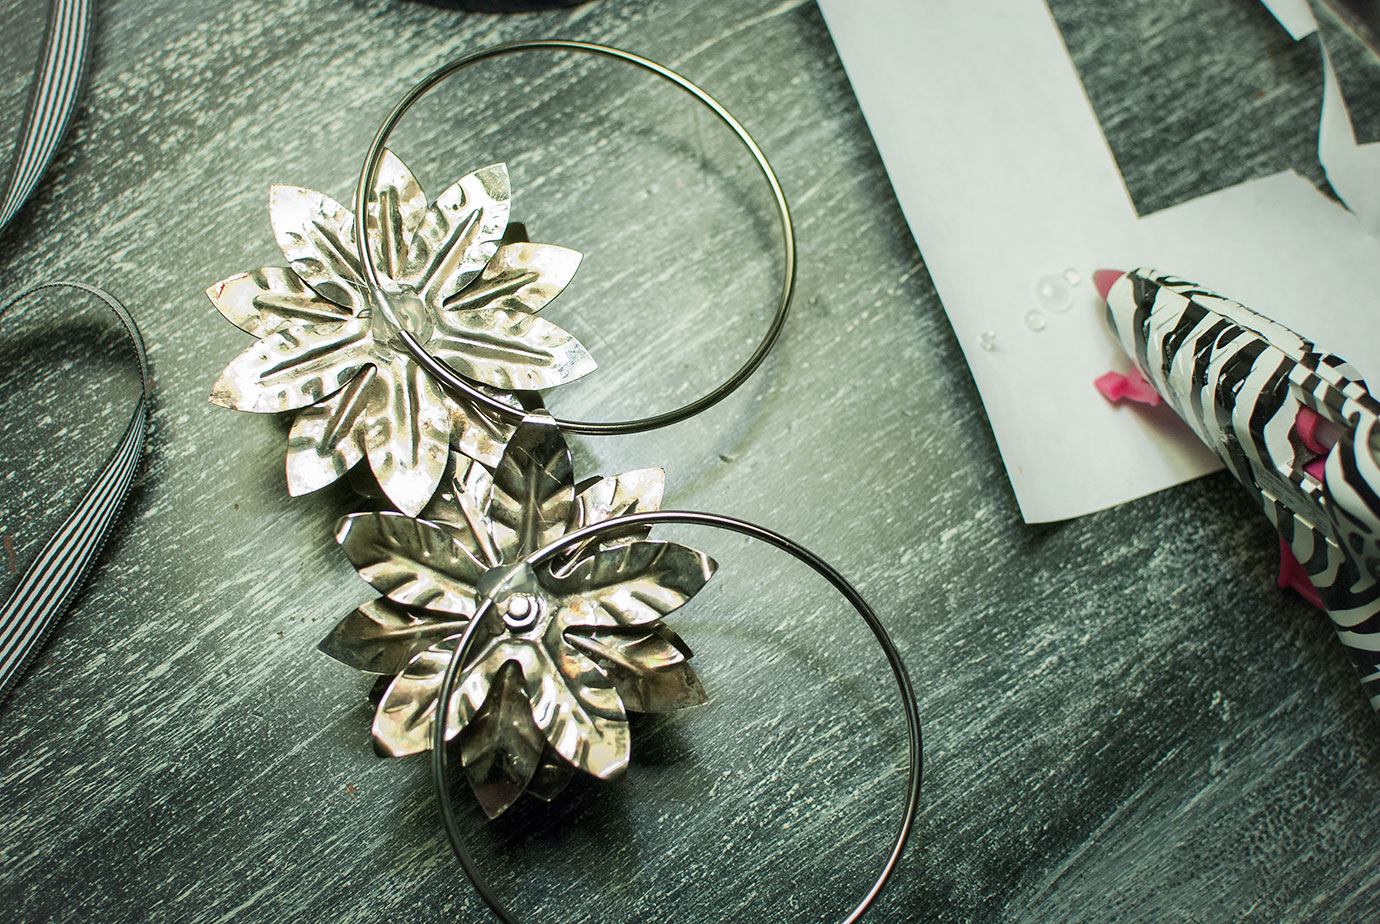
1. Glue the rhinestone/button in the center of the flower. If you can bend back the petals a little it will be easier to get the rhinestone in the center.2. Glue the flower to the ring. I needed to hold the flower on the ring while the hot glue cooled and hardened so it didn't slip off.
3. Tie on a pretty ribbon and hang on your wall! See, I told you it would be quick and easy!
Party Time!
Meet Your Co-Hosts!
(Be sure to pop over and visit...they all have some amazing crafts to share!)
Shani | Sunshine & Munchkins
Anna | Practical and Pretty
Ali | Home Crafts by Ali
Christine | Swordfights & Starry Nights
Meg | The Kusi Life
Candice | She's Crafty
Lauren | A Life of Love and Joy
Amy | Leap of Faith Crafting
Jaclyn | The Dotted Nest (that's me!)
Victoria | Dazzle While Frazzled
Sydney | Tastefully Frugal
Lindsay | See Lindsay
Julia | The Quiet Grove
Pam | P.S. I Love You Crafts
Marie | The Inspiration Vault
Next month the link-up theme will be "Dollar Store Crafts"...who doesn't love a good dollar store craft right?
Now, let's get this party started!!! Please link up below with your crafty DIY project for the month of January! Don't forget to visit your hosts up above.




Suoer cute vintaage wreath. I especially loved the rhinestones in the middle of the flowers.
ReplyDeleteThank you! And the bling is fun, right?!
Deleteloving those metal flowers. I think it's great that you were able to create something out of things you already had. Way to go!!
ReplyDeleteThanks Meg! I need to get in a better habit of using what I have more!
DeleteYou can do SO much with those wire rings! They are one of my favorite craft items.
ReplyDeleteMine too!
DeleteI love how you reused the metal flowers. Very nice!
ReplyDeleteThanks Pam!
ReplyDeleteI love how these turned out! Such a fun way to combine the simplicity of the wire ring with the flower. Gorgeous!
ReplyDelete